Showing posts with label Tutorial. Show all posts

Jul 3, 2019

Experimental Eco-dyeing on Paper.


At the moment I am enamoured with paper, and am slowly tidying several piles of vintage books, papers and card. Another re-purposed book is in the making with a woodland theme, and I am making a lot of my own resources instead of buying new purpose printed, and generic (which makes it very boring for me) craft paper from the shop. I had a lovely bouquet from my daughter, which was definitely past its' beauty, and the technique of eco-dyeing was studied on-line.

Resulting eco-dyed pages, after drying and pressing.
Natural dyeing is something I have done before, with wool yarn, to get an overall colour, so I know a little about mordanting and different plants. I was expecting subtle colours, and hoped for stronger imprints. I was also doubtful about the papers holding together.

Ingredients; plant materials, papers, alum as mordant,
 and a large pan, which will only be used for this.
I bought an electric frying pan with lid secondhand for $15, as it can contain the papers lying flat, and it has a thermostat which can be set to 80'C, as keeping it all simmering, is more dye productive than boiling. Boiling can destroy the dye molecules.

Dried larkspur, blue hyacinth, daisies, gerbera, bay leaves,
ferns, adding red onion leaves, lichens, etc.

Fresh winter pick of ferns, climbing ivy leaves and berries,
eucalyptus, oak, and  old autumn leaves.
I went around our property and gathered some more plant material. Hopefully those ivy berries would give some colour. Now to prepare the mordant and papers.

2 tablespoons of alum in a throw away container,
although alum is fairly harmless.

Dissolve the alum in warm water.
I decided to use filtered water, as we have chlorine in our water these days. Chlorine has a bleaching effect of course, and I did not need a chemical reaction like that at all...

Wetting the papers in the alum water.
To prepare the stack of paper, both thick, transparent, new and vintage, I simply submerged them in the alum water and stacked them on the plastic covered table.

All the leaves sandwiched in the wet papers.
I took off a lot of hard woody stems, and arranged the leaves, flowers and berries in the wet papers.
Some paper had already given up the ghost, mainly lined school writing paper. It just fell apart.

I tied up the stack with a large wide ribbon.
At first I wanted to tie up the big sandwich with wire, but was afraid it would just rip the paper. A friend had just given me meters of wide satin ribbon. That held it together gentler, and still tight enough for the plant material not to shift place.

eucalyptus leaf and gumnut, avocado skin, and copper tube offcuts.
Added to the dye bath to provide overall colour, I added gum leaves and nut (goldens), avocado skin (soft pinks) and copper tube offcuts, which can bring out greens and blues from the dye plants.
You can instead add rusty iron, but that can bring out more yellow and browns, and darken colours.
For that reason I don't use an aluminium pan, as that will only produce 1 result. this pan has a teflon coating, elliminating any reactions. Stainless steel is also neutral. An enamelled pan should not have cracks or chips in the enamel, this exposes the iron underneath. Unless you want that.

Submerging the paper sandwich with a heat proof weight.
Time to cook. The papers were weighted down under the pans' lid, and I brought the allumed and added filtered water nearly to the boil, then set the thermostat to 85/90 'Celcius.
And left it to simmer, with the kitchen windows open, for an hour.
(Please be aware that some plants can produce poisonous fumes, such as oleander. Don't use it. Please check.) 
Simmer gently for an hour.

Take out the hot package with care.

Drain and cool.
I let the bundle drain and cool down. I contemplated letting the papers dry overnight, flat with the plant material on it. But plants were already falling off, and I was going away for a few days. Things would have gone moldy instead.
So I unpacked everything, and was pleasantly surprised.
All the papers drying in the kitchen.

Crinkles and folds.
Beautiful green leaf imprints.
Some of the colours are subtle, and there are lovely organic plant imprints. A number of cheap printing papers were ripped, or got holes in it. The thick vintage kids book pages worked very well, so did photo album pages with the in between tissue papers. Old music sheets and thicker printing papers did well too. After they all dried, I pressed the pages with an iron for a smoother finish.
Another successful experiment, for the girl that failed chemistry!
Blues from the climbing ivy berries and pink from bougainvillaea.


Apr 2, 2019

How to Alter an Old Book into a New Journal.

Altered Book Journal.
If you feel the need to journal your days, or are trying to keep track of things, why not make it really personal and create your own Notebook.
(If you have a problem with "hurting" books, please remember there isn't actually a "Book Police"..)
So here is my picture-rich tutorial on how to make your own Journal out of an old book.

STEP 1;   Get an old book from a second-hand book shop, flea market, or check with local library throw outs or relatives' bookshelves.
 Don't get a book that has hundreds of pages, it is just daunting to work in.
Make sure it is a hard-cover book, and that the pages have been sewn in, NOT glued in. After you are finished with it, and have added glues and paints and collage, you don't want your pages to fall out of the book because the glue holding the book together has weakened.
You can check if the pages are sewn in, by checking at the top of the spine, to see if the papers have been bend double. There should be a visible loop of papers. When you open the book in the middle of one of those loops (which is a stack of papers called a "signature"), you should find a thread down the middle of the pages.
Finding and reducing volume of signatures.
STEP 2;    In my case I found a (rather tedious) girls' book about an english boarding school. It had a faded blue linen cover. Each signature had 5 pieces of doubled paper. I reduced that throughout the book by carefully ripping out 1 full page, taking care not to break the thread. Because you will be adding extra paper, glue and paint, the book still needs to be able to close.
Each signature now had a number of pages divisable by 2, because now you are going to glue 2 pages together. This way the paper will be thicker and can handle all the stuff you are going to do to it. You can use either a good glue-stick for this, or tacky craft glue. Don't use normal p.v.a. or white craft glue, as it is too wet, and it will seriously buckle your pages. And will take ages to dry.
 I used a glue-stick for this book. Let dry by standing the book up with the pages open.
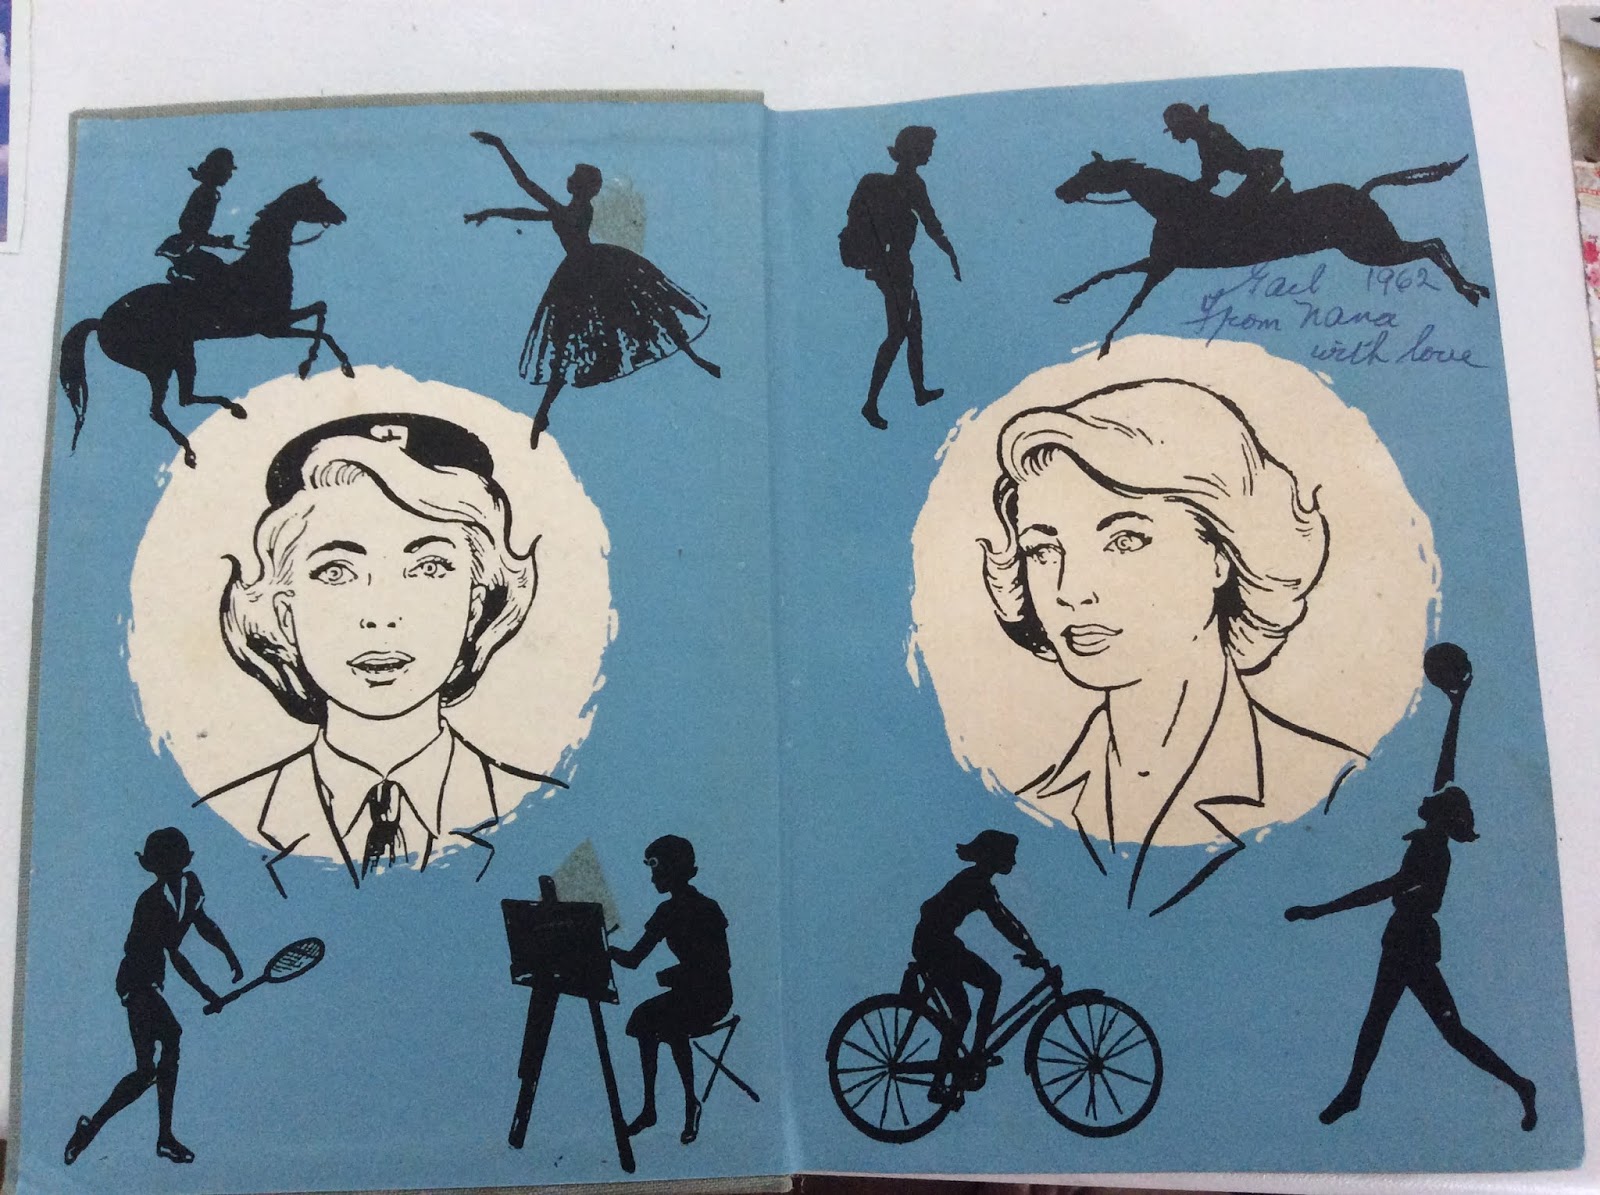
The end papers were really cute, and I left the inscription from 1962.

Old magazine, coffee and rip rip rip!
STEP 3;   Decorating your Journal-to-be. This is a really relaxing bit, where you get an old magazine, a hot cuppa, and cut or rip out pictures and quotes that you like. I used just 1 Country Living UK magazine for this whole journal, it was so chock-full of goodness. But you might like a fashion mag, or nature, or travelling; whatever takes your fancy.
Make sure the pictures are not too big, as you want to leave some space for actual journaling...

Some pictures are cut, some ripped for soft lines.
STEP 4;    Glue your pictures into the book, using a gluestick. Smooth any air bubbles out with your fingers, or an old plastic bankcard. Keep them to the edges of the book pages.

Stand the book upright with the pages fanned out to dry.
I found that I was colour coordinating images, or theming things together on the same page.

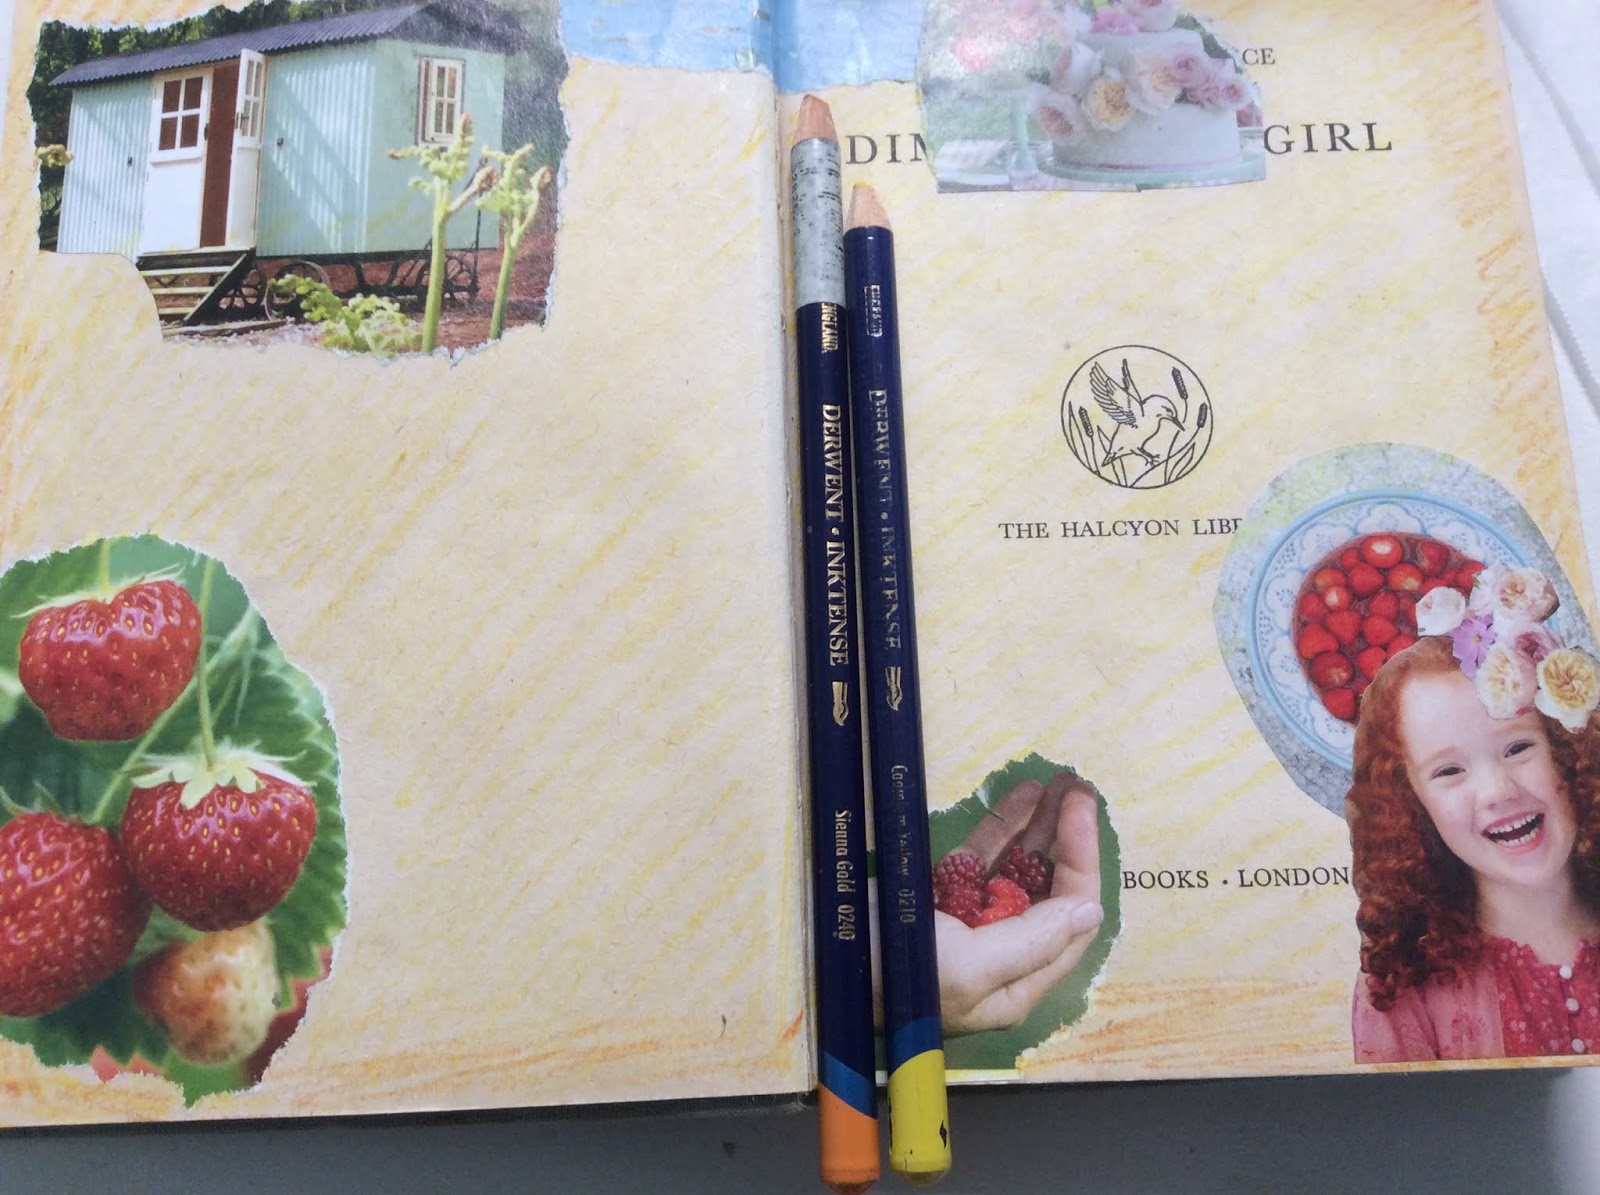
Using water activated colouring pencils, Derwent Inktense.
STEP 5;    Adding colour to your pages. I used my Derwent Inktense colouring pencils, but you can use other aqua pencils. I just scribbled different colours all over the pages, choosing to coordinate with the colours in my pictures.
 ( It's o.k. Really. No one is going to come and arrest you, for defacing this old book. You are just rescuing it from landfill, to live a new life...)
White Gesso.
STEP 6;    Now you can brush white Gesso over the top of all your colour scribbling, and partly over the pictures. Gesso is usually used to prepare a surface for painting, as it is a bit chalky to the touch and lets paint and glue adhere well. We are using it in the journal to obscure the printed words, and at the same time activate the coloured pencil pigments. The colours will blend into the Gesso, giving a soft colour, but you will still be able to faintly see the print and edges of the pictures underneath. This gives a lovely layered depth effect to your pages.
Obscuring text with tinted gesso.

Using the tinted gesso to soften and blend pictures into the page.

Drying in the sun.
Gesso a couple of pages at the same time, then dry well, leaving the pages spread open.

Drawing in cubbyholes for the days, using a cardboard rectangle.

STEP 7; Rooming in your Journal. Depending on how you want to journal, you can now create spaces on the pages for note keeping. My new Journal had 29 full spreads, giving me 2 spreads for each month, with some spare pages. I worked out how many rectangles I could fit across a page, without having to write too small, and then made a little rectangle from the magazine cover that I had ripped up. I used it as a template to draw around with a black pencil. These measurements all depend on how large or small your old book is.
I used a black pencil, because Gesso can be a pain to write on with a Sharpie felt pen.
For that reason I also suggest a gel pen, or ballpoint pen for writing.


I left some space at the end of each month to record things like exercise session totals, etc.
And a page for books I have read, at the end of my new Journal.

Adding vintage fabrics and notions for the cover.
STEP 8;    Decorating the cover of the book. I used some old embroideries, a piece out of a stained, but cheerful tablecloth, vintage cards of hooks and eyes, and a crocheted flower. I used pinking shears to cut out the fabric, to minimise un-ravelling, and carefully cut around the embroidery, without cutting the embroidery threads. Using a generous amount of tacky craft glue on the back of the fabrics I stuck them down. Make sure the fabric goes into the grooves of the book, to give space in the fabric when opening and closing the book. The fabric also covered up the original title of the book.

A bookmark with tag.
STEP 9;    I wanted a bookmark, and found a suitable length of ribbon. (Actually, this ribbon was inside the shoulder seams of one of my shirts, for hanging purposes, but always flipped out of my shirt while wearing it. So I cut it off...) Adding tacky craft glue to one end and using a thin knitting needle I pushed it into and against the spine of the book, and held it there until it started to stick.
A fancy card tag from a new garment was re-used to make my collaged bookmark. I also added some beads to the ribbon.
My Journal in use.
STEP 10;    Start using your Journal!  I use mine to track sleep patterns, exercise, mental health, and to prompt myself into creativity. It is your Journal, so do what you like in it.

 I just had to create one of my collage critters in it, with the left over magazine pictures. Fun!

A Sweet Collage Critter of mine.


Jun 30, 2014

How To Make a Hobbit Terrarium.

Frodo walking up to Bag End.

A new idea was sprouted, inspired by the amount of moss growing on our property this winter and my recent Pinterest obsession. "Oh Mum, you should go on pinterest, you'll love it...!" sounded my two daughters' well meaning advice.
And I did. And I do love it. And I am getting new ideas.
But I don't really need more ideas.....
But I can't stop; there are so many clever and creative people out there, and so many handy how-to's. And I have 18 boards already, and other Pinners are following them....

However I am rather enamoured with tiny worlds, especially enclosed in a jar.


So I started gathering up moss, and lichens still attached to the fallen twigs from the pohutukawa tree, and found some liverwort plants. We live in a very clean-air part of the world, and several prolific species of lichens live on the trees right outside the house, and hardy urban moss has established itself into little cracks in the concrete paths and road asphalt outside.
I also colllected gravel from the drive, used activated charcoal from the brewers shop in town, and I used spoons to put everything into a big glass jar with a cork lid from the Sallies.
The little round door was made by painting a clean stone with 1 flat side with acrylic paint, and acrylic sealer.


How to assemble your terrarium
1: Layer of gravel or pebbles, for drainage.
2: Thin layer of activated charcoal, which will stop bad bacteria that can grow mold and slime.
3: Layer of cheesecloth, or dried sphagnum moss (from the florist), to stop the soil falling into the gravel layer. If the soil clogs up the gravel layer, your terrarium can't drain.
4: Thicker layer of fine compost soil, enough for any roots of little plants to become established.
You can shape this soil with a spoon, or your fingers, into little hillocks, or place some larger stones as decoration.
5: Start putting down your moss, hopefully gathered carefully, with the underlying soil still attached, you can do this by collecting moss on a wet day with a flattish spoon, and slow scraping movements.
Gently press down the moss onto your little sloped garden. Don't let the moss press against the glass, for it won't be able to "breathe" and will die.
6: Keep your terrarium in indirect sunlight, otherwise your plants might cook.
Make sure that the soil is moist, sprinkle a little water if needed.
Close the jar. There should only be slight condensation on the glass, if it is too wet, as if it is positively raining in there, you can leave it open for a little while, to disperse some of it. Your moss should keep looking lush and alive, if it dries out, well, you'll have to add some water, but you shouldn't have to do that for a long while. Months even.
7: And if you have created a little scene in there with imaginary inhabitants, please do have a giggle! Keep playing!


And so this will be the year of the living room, in our D.I.Y. house. My lovely builder has already taken off several inside walls, and put insulation in, and replaced the boards, he has even done some rough plastering so far. We are also in the process of contemplating wallpapers, it will be a toss-up between 2, but until the sample gets here, we're still not quite sure. Our new gas fire-place is humming along pleasantly. It is very nice to wake up at 6:45a.m. and get into a warm living-space, without any effort on our part.
A new idea has arisen also; what about wooden floors here as well as in the dining room/workroom?
The lovely native matai wood flooring from the 1940's is sitting right underneath the carpet...

But before we do all that however, a small leak has been discovered in 1 of the walls of the shower cabin, and that does have to be dealt with unfortunately.
My husband reminds me, that it is a "first world problem". How lucky we are to have a roof above our heads in the first place! With food in the cupboard and enough work to earn money...
Are you that fortunate too?

May 2, 2014

Easter Egg Dyeing with Natural Colours and Leaf Resists.

Resist dyed leaf patterns.
 About time I showed you what I did with the kids at school for Easter.
 First I explained about the connection with Spring and Easter, or rather let the kids think about why we were celebrating eggs, bunnies, chicks, and flowers at Autumn time! Yes, of course I mentioned the other celebration of Jesus as well, but in passing. This was about dyeing eggs, and it is a secular school.
And the kids did come up with the answer; we're on the other side of the world of where these traditions started! So I said, we are going to make Autumn-Leaves Easter Eggs.

New Zealand Primary school classroom.
 This is my "base" classroom, since I work in 4 different rooms at the moment. That's the teacher, she has phenomenal energy, I am in her class for the second year in a row. The children are having "mat-time"in the picture. In between different activities they come and sit on the mat, or the carpet in front of the teaching desk. It gives them movement and a different pace and signals that they need to pay attention to the teacher while she talks about something in detail. It's also where they eat their morning-tea, or listen to a story.
That big white board is an "interactive white board" on which you can bring up the internet, or computer programmes, with which you can use an electronic pen to write or draw on the board, print it out, or even send to another computer in the school. Nearly all our senior classes in our school are completely "technology classrooms", in which each child does their work on their individual laptops, then sends their work to the teacher. She/he can also monitor their work in their files, and checks if the kids access things they shouldn't. It seems to keep the kids' attention quite well!

Anyway, back to the eggs...
Simmering red cabbage.
 At home I prepared the dyes. I could have done this at school too, but seriously; boiling cabbage and onion skins for half an hour is not that pleasant a smell in a classroom...
So I simmered (in a stainless steel pot, since iron or aluminium can change the colour) half a red cabbage with salt (making it alkaline) and the other half with a dash of white vinegar (making it acid), just under boiling point for half an hour. With all the windows open...
Then drained the cabbage out, reserving the intensely coloured dye-water.

Red and brown onion skins.
 I did the same with 2 big handfuls of mainly red onion skins. Nothing added.

Cheese-cloth (with small leaves inserted) wrapped hardboiled eggs .
 When the dyes were cool enough, I poured them into clean plastic fizzy drink bottles for easy transportation to school. I also took some glass and steel bowls, again other metals react different to natural dyes, and plastic bowls will stain.
I picked a tray of small leaved plant material from my garden, like maiden hair ferns and young fern fronds, young ivy leaves, and clover.
I cut lots of squares of cotton cheesecloth and some white yarn to wrap the eggs into

O.K. the eggs themselves.... I thought that would be easy, right? Get some white eggs from the shop, as you can't  make brown eggs blue or pink.
By George! I had some serious problems there!! No white eggs to be found in either Napier or Hastings supermarkets, Farmers' Markets, or egg Farms..... Incredible!
The lady at an egg farm told me that they can't actually buy the hens anymore that lay white eggs. And that people think that brown eggs are healthier looking, you know like a sun tan, or like brown bread versus white bread.
That's mono-culture farming for you...
Did you know that some type of hens lay blueish eggs, or speckled?
Anyway she had these trays of commercial eggs, these are usually bought by baking companies, the eggs are irregular sized, have bumps or spots, are thin, or very pale.
So we found 30 of the palest brown eggs, it was very kind of her to help me. But some did crack during the hardboiling. They would simply have to do...

I hard boiled them, for about 5 minutes. That way they were still pleasantly edible for the kids. And not so breakable.
I added a drop of dishwash liquid to the water to remove any chicken-bum grease, that might prevent the dye penetrating the shell.

The hard boiled eggs were left overnight in the dyes.
 So the children placed some little leaves in the cheesecloth in their hand and wrapped their egg in it and tied it up. Well, as I thought, that was a super tricky action, most 7 year olds these days can't tie a knot if their life depended on it... They are the velcro-generation, hahaha!
And if they did manage to totally knot up their egg, the cheesecloth was loose. For the resist method to work, the leaves need to lie tightly against the egg while dyeing.
Luckily there were 3 adults in the room.
We also wrote their initials on the egg with a white crayon.

Now they got to choose which dye pot their egg was going to soak overnight in, but I warned them that   their egg would be a different colour then what they could see...
Since I wasn't sure of the outcome I wasn't going to promise them a particular colour, and it was excitingly mysterious...

After cutting off the wraps and drying the eggs.
We were all happily surprised the next day. I cut off all the cotton wraps, and most of the resists had worked nicely. The red onion skin liquid had turned a deep orange brown, the purple red-cabbage-with-salt liquid had left a sky blue colour.
And the purple-pink dye made from the red-cabbage-with-vinegar went a more lavender hue, that could probably have done with another dash of white vinegar to go towards pink.
Science/ Art/ Culture experiment successfully completed!

Aug 7, 2013

How to dye wool using plant material and alum.

 Our garden produced a good crop of purple passionfruit last autumn, and I made a lovely batch of sauce again.
Since I had had a wee experiment last year with dyeing a little wool with some of the passionfruit skins, I thought I'd do it properly this year. See if I could get that soft pink again. Since pinks and purples are some of the most difficult colours to get from plants.

So here a "basic recipe"which you can use for different plant experiments.
Try it with onion skins, parsley, poplar tree twigs and leaves, dahlia flowers (when flowering is done), coreopsis, marigolds, iris leaves, geraniums, carrot tops, cinerarias, purple prunus leaves, fennel, yellow oxalis flowers, etc. try roots, or leaves, fallen bark or twigs. You will start looking at plants in a different light altogether. (just make sure it is not a protected species)

Needed: *weighing scales,
*pots and pans (to be used for dyeing only), preferably stainless steel,
*measuring spoon and stirring spoon (for dyeing only),
*spare mixing container
*plastic or muslin mesh bag to cook plant material in,
*cream of tartar (potassium bi-tartrate, also used in baking and preserving.),
* alum ( potassium aluminium sulphate, from your chemist.)
*about 100 grams of clean wool, or silk, mohair, alpacca (protein fibres)
* as much plant dye material as you can find, I used 2 cups of cut up passionfruit skins here.

A popular book on the NZ fibre-artisans' shelf.
I have used this book a lot when natural dyeing, it has recipes in it for native plants and those you can actually find in your NZ neighbourhoods' gardens.
Alum is the most common mordant used and nearly always used in conjunction with cream of tartar, usually 3 or 4 parts alum to 1 part cream of tartar. A mordant chemically opens up the fibres to accept the dye molecules.
There are some plant dyes that don't need a mordant, like walnut husks or silverdollar gum , but mostly you want to be sure you don't pour the dye down the sink without first being absorbed by the fibres, right?

*Step 1*  I chopped up the empty passionfruit skins, some of which were quite dry and wrinkly. Any moldy ones were thrown out. I put them in a dyeing saucepan and covered with water, then simmered softly for half an hour.

 *Step 2* Wet the wool gently and thoroughly.
Using a 5ml measuring spoon, mix 4 spoons of alum and 1 spoon of cream of tartar (this is for 100 grams of wool) with some hot water and dissolve. Tip the mixture into the pot with enough water to cover the wool. Place the wet wool in the alum bath.
Simmer softly for three quarters to an hour.
Do not stir the wool, it will felt horribly. You can gently move it once or twice with the spoon.


Cool the wool. Strain it into a colander. 
You now have mordanted wool. You can store this in the dark up to 3 days for peak performance, or use straight away. If you are impatient like me, it would be used in the next 5 minutes!


 *Step 3* Strain the plant material from the dye liquid, but throw nothing away.
Put the plant material in a mesh bag to stop it from getting entangled in the wool. Tie up with a rubber band or string, but not metal. Iron, copper or even aluminium can alter the results of the colour.


*Step 4* Put the mordanted wool into the dye liquid, making sure it is covered. Otherwise add some water. This does not "dilute "the dye; there are still just as many dye molecules floating about in the liquid as before.
Put the mesh bag with plant material back in also.
Bring to a soft simmer and let it do this for half an hour to 3/4 hour. Do NOT stir, but you can gently and slowly turn the wool over a couple of times. Or not if you want to be on the safe side of non-felting.

*Step 5*  Cool and strain the wool. Any vegetable matter in the wool can be picked out after drying or during spinning.
Rinse very gently in the sink with same temperature as the wool (remember heat and friction cause felting), with an optional dash of white vinegar .


*Step 6*  Dry outside in a soft breeze if you get one. 
You shouldn't use pegs as they leave squeeze marks. According to my book, most bad fading occurs quickly but the gentle softening of colour can take longer. 

So far so good with my passionfruit-skin dyed wool!
But I wanted more of the pinkish-ness, although it was a good flesh colour.


I had picked another dozen ripe passionfruit that morning, so a new experiment this time!
Solar dyeing in preserving jars this time!
This involves no cooking. But you need nice weather for some days.
I scooped out the yummy pulp and put it in the fridge for later yoghurt toppings.
The skins were cut into pieces and divided into 3 mesh bags.
Another alum mixture was made; 4 x 5ml. alum with 1 x 5ml. cream of tartar, dissolved in water.
I divided this mordant water over 3 preserving jars.
Then added wet fibre ( wool, alpacca, silk sliver) to the jars so that they were in there loosely, not packed.
 I added the bags of passionfruit skins, making sure everything was covered by the fluid.
Then sealed the jars with lids and cling-wrap and rubber-bands.
And put them in the sun for 5 days! I shook them so now and then and turned them around.
Well, I intended to do 5 days, but I forgot and it turned into a week...


The wool (middle) took the dye the best, although in places more pale peachy with hints of green tinges. The silk was not white anymore, but nothing spectacular unfortunately. The alpacca (left)  was somewhat paler than the wool.

Not a bad set of scientific experiments , don't you think? for a girl who failed her chemistry miserably at high school!