Jul 3, 2019

Experimental Eco-dyeing on Paper.


At the moment I am enamoured with paper, and am slowly tidying several piles of vintage books, papers and card. Another re-purposed book is in the making with a woodland theme, and I am making a lot of my own resources instead of buying new purpose printed, and generic (which makes it very boring for me) craft paper from the shop. I had a lovely bouquet from my daughter, which was definitely past its' beauty, and the technique of eco-dyeing was studied on-line.

Resulting eco-dyed pages, after drying and pressing.
Natural dyeing is something I have done before, with wool yarn, to get an overall colour, so I know a little about mordanting and different plants. I was expecting subtle colours, and hoped for stronger imprints. I was also doubtful about the papers holding together.

Ingredients; plant materials, papers, alum as mordant,
 and a large pan, which will only be used for this.
I bought an electric frying pan with lid secondhand for $15, as it can contain the papers lying flat, and it has a thermostat which can be set to 80'C, as keeping it all simmering, is more dye productive than boiling. Boiling can destroy the dye molecules.

Dried larkspur, blue hyacinth, daisies, gerbera, bay leaves,
ferns, adding red onion leaves, lichens, etc.

Fresh winter pick of ferns, climbing ivy leaves and berries,
eucalyptus, oak, and  old autumn leaves.
I went around our property and gathered some more plant material. Hopefully those ivy berries would give some colour. Now to prepare the mordant and papers.

2 tablespoons of alum in a throw away container,
although alum is fairly harmless.

Dissolve the alum in warm water.
I decided to use filtered water, as we have chlorine in our water these days. Chlorine has a bleaching effect of course, and I did not need a chemical reaction like that at all...

Wetting the papers in the alum water.
To prepare the stack of paper, both thick, transparent, new and vintage, I simply submerged them in the alum water and stacked them on the plastic covered table.

All the leaves sandwiched in the wet papers.
I took off a lot of hard woody stems, and arranged the leaves, flowers and berries in the wet papers.
Some paper had already given up the ghost, mainly lined school writing paper. It just fell apart.

I tied up the stack with a large wide ribbon.
At first I wanted to tie up the big sandwich with wire, but was afraid it would just rip the paper. A friend had just given me meters of wide satin ribbon. That held it together gentler, and still tight enough for the plant material not to shift place.

eucalyptus leaf and gumnut, avocado skin, and copper tube offcuts.
Added to the dye bath to provide overall colour, I added gum leaves and nut (goldens), avocado skin (soft pinks) and copper tube offcuts, which can bring out greens and blues from the dye plants.
You can instead add rusty iron, but that can bring out more yellow and browns, and darken colours.
For that reason I don't use an aluminium pan, as that will only produce 1 result. this pan has a teflon coating, elliminating any reactions. Stainless steel is also neutral. An enamelled pan should not have cracks or chips in the enamel, this exposes the iron underneath. Unless you want that.

Submerging the paper sandwich with a heat proof weight.
Time to cook. The papers were weighted down under the pans' lid, and I brought the allumed and added filtered water nearly to the boil, then set the thermostat to 85/90 'Celcius.
And left it to simmer, with the kitchen windows open, for an hour.
(Please be aware that some plants can produce poisonous fumes, such as oleander. Don't use it. Please check.) 
Simmer gently for an hour.

Take out the hot package with care.

Drain and cool.
I let the bundle drain and cool down. I contemplated letting the papers dry overnight, flat with the plant material on it. But plants were already falling off, and I was going away for a few days. Things would have gone moldy instead.
So I unpacked everything, and was pleasantly surprised.
All the papers drying in the kitchen.

Crinkles and folds.
Beautiful green leaf imprints.
Some of the colours are subtle, and there are lovely organic plant imprints. A number of cheap printing papers were ripped, or got holes in it. The thick vintage kids book pages worked very well, so did photo album pages with the in between tissue papers. Old music sheets and thicker printing papers did well too. After they all dried, I pressed the pages with an iron for a smoother finish.
Another successful experiment, for the girl that failed chemistry!
Blues from the climbing ivy berries and pink from bougainvillaea.


Apr 2, 2019

How to Alter an Old Book into a New Journal.

Altered Book Journal.
If you feel the need to journal your days, or are trying to keep track of things, why not make it really personal and create your own Notebook.
(If you have a problem with "hurting" books, please remember there isn't actually a "Book Police"..)
So here is my picture-rich tutorial on how to make your own Journal out of an old book.

STEP 1;   Get an old book from a second-hand book shop, flea market, or check with local library throw outs or relatives' bookshelves.
 Don't get a book that has hundreds of pages, it is just daunting to work in.
Make sure it is a hard-cover book, and that the pages have been sewn in, NOT glued in. After you are finished with it, and have added glues and paints and collage, you don't want your pages to fall out of the book because the glue holding the book together has weakened.
You can check if the pages are sewn in, by checking at the top of the spine, to see if the papers have been bend double. There should be a visible loop of papers. When you open the book in the middle of one of those loops (which is a stack of papers called a "signature"), you should find a thread down the middle of the pages.
Finding and reducing volume of signatures.
STEP 2;    In my case I found a (rather tedious) girls' book about an english boarding school. It had a faded blue linen cover. Each signature had 5 pieces of doubled paper. I reduced that throughout the book by carefully ripping out 1 full page, taking care not to break the thread. Because you will be adding extra paper, glue and paint, the book still needs to be able to close.
Each signature now had a number of pages divisable by 2, because now you are going to glue 2 pages together. This way the paper will be thicker and can handle all the stuff you are going to do to it. You can use either a good glue-stick for this, or tacky craft glue. Don't use normal p.v.a. or white craft glue, as it is too wet, and it will seriously buckle your pages. And will take ages to dry.
 I used a glue-stick for this book. Let dry by standing the book up with the pages open.
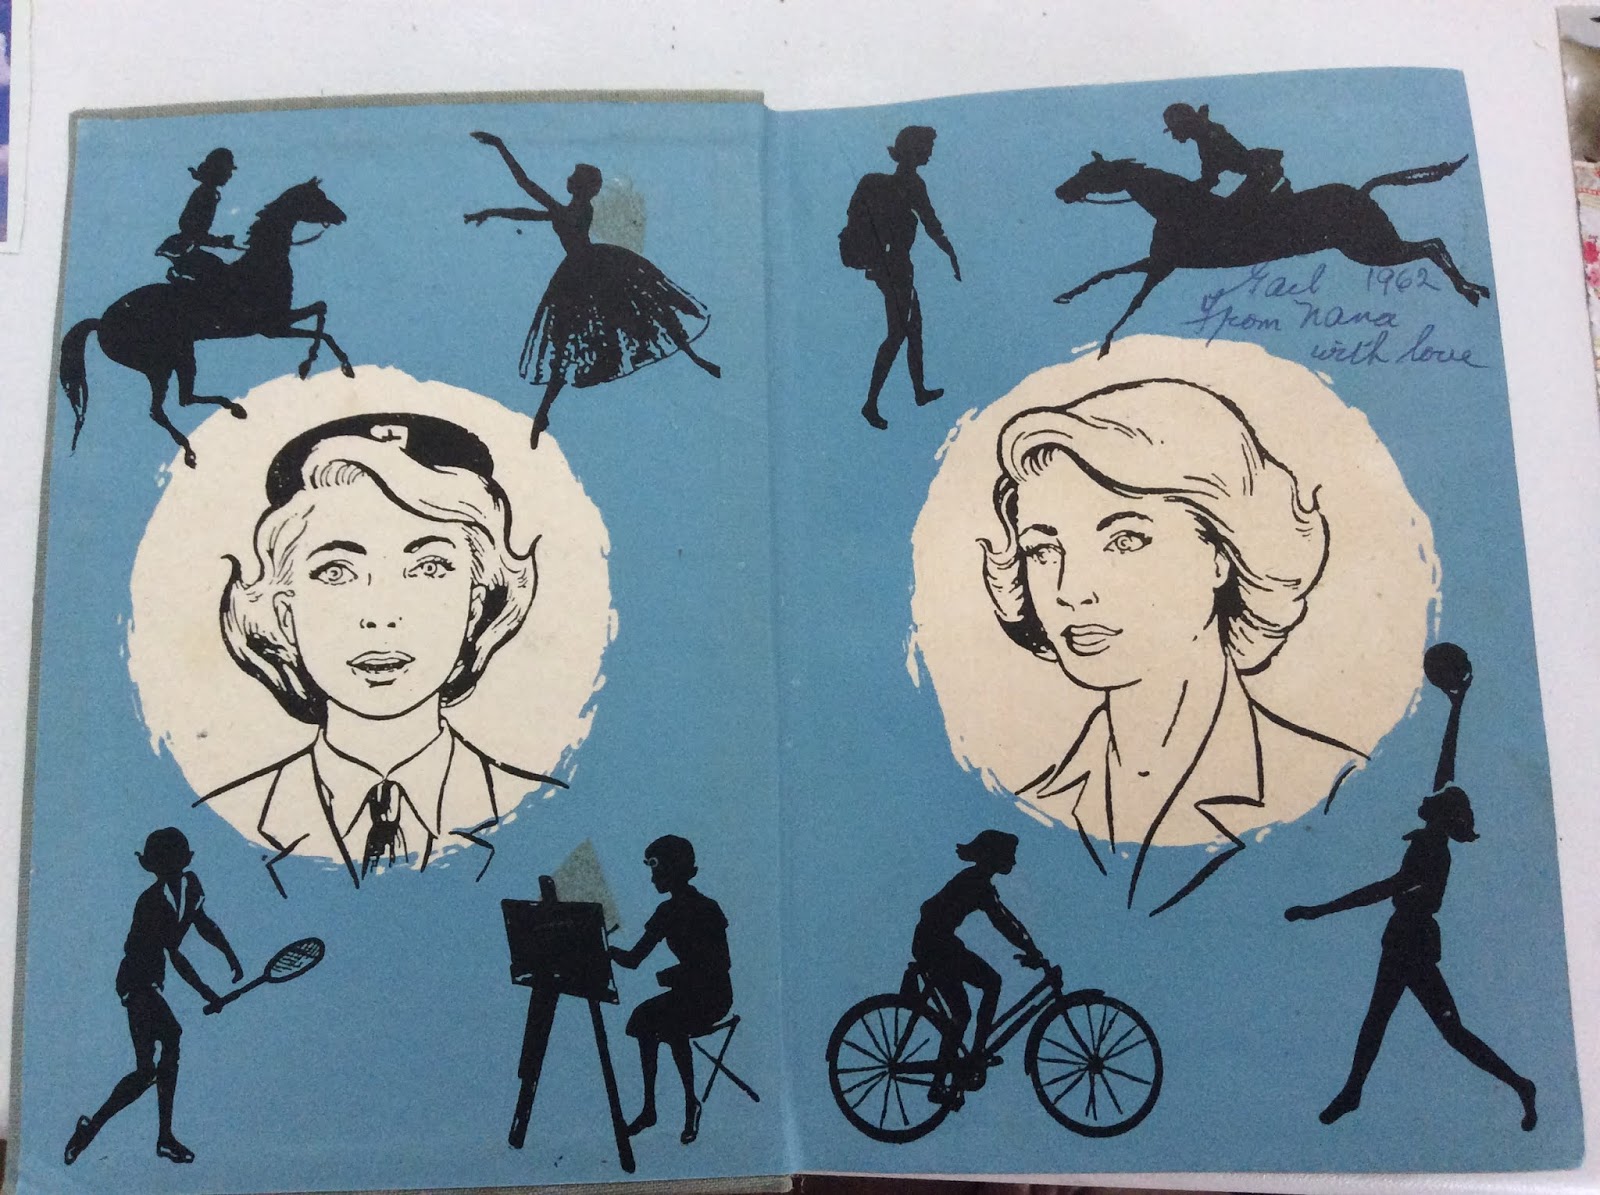
The end papers were really cute, and I left the inscription from 1962.

Old magazine, coffee and rip rip rip!
STEP 3;   Decorating your Journal-to-be. This is a really relaxing bit, where you get an old magazine, a hot cuppa, and cut or rip out pictures and quotes that you like. I used just 1 Country Living UK magazine for this whole journal, it was so chock-full of goodness. But you might like a fashion mag, or nature, or travelling; whatever takes your fancy.
Make sure the pictures are not too big, as you want to leave some space for actual journaling...

Some pictures are cut, some ripped for soft lines.
STEP 4;    Glue your pictures into the book, using a gluestick. Smooth any air bubbles out with your fingers, or an old plastic bankcard. Keep them to the edges of the book pages.

Stand the book upright with the pages fanned out to dry.
I found that I was colour coordinating images, or theming things together on the same page.

Using water activated colouring pencils, Derwent Inktense.
STEP 5;    Adding colour to your pages. I used my Derwent Inktense colouring pencils, but you can use other aqua pencils. I just scribbled different colours all over the pages, choosing to coordinate with the colours in my pictures.
 ( It's o.k. Really. No one is going to come and arrest you, for defacing this old book. You are just rescuing it from landfill, to live a new life...)
White Gesso.
STEP 6;    Now you can brush white Gesso over the top of all your colour scribbling, and partly over the pictures. Gesso is usually used to prepare a surface for painting, as it is a bit chalky to the touch and lets paint and glue adhere well. We are using it in the journal to obscure the printed words, and at the same time activate the coloured pencil pigments. The colours will blend into the Gesso, giving a soft colour, but you will still be able to faintly see the print and edges of the pictures underneath. This gives a lovely layered depth effect to your pages.
Obscuring text with tinted gesso.

Using the tinted gesso to soften and blend pictures into the page.

Drying in the sun.
Gesso a couple of pages at the same time, then dry well, leaving the pages spread open.

Drawing in cubbyholes for the days, using a cardboard rectangle.

STEP 7; Rooming in your Journal. Depending on how you want to journal, you can now create spaces on the pages for note keeping. My new Journal had 29 full spreads, giving me 2 spreads for each month, with some spare pages. I worked out how many rectangles I could fit across a page, without having to write too small, and then made a little rectangle from the magazine cover that I had ripped up. I used it as a template to draw around with a black pencil. These measurements all depend on how large or small your old book is.
I used a black pencil, because Gesso can be a pain to write on with a Sharpie felt pen.
For that reason I also suggest a gel pen, or ballpoint pen for writing.


I left some space at the end of each month to record things like exercise session totals, etc.
And a page for books I have read, at the end of my new Journal.

Adding vintage fabrics and notions for the cover.
STEP 8;    Decorating the cover of the book. I used some old embroideries, a piece out of a stained, but cheerful tablecloth, vintage cards of hooks and eyes, and a crocheted flower. I used pinking shears to cut out the fabric, to minimise un-ravelling, and carefully cut around the embroidery, without cutting the embroidery threads. Using a generous amount of tacky craft glue on the back of the fabrics I stuck them down. Make sure the fabric goes into the grooves of the book, to give space in the fabric when opening and closing the book. The fabric also covered up the original title of the book.

A bookmark with tag.
STEP 9;    I wanted a bookmark, and found a suitable length of ribbon. (Actually, this ribbon was inside the shoulder seams of one of my shirts, for hanging purposes, but always flipped out of my shirt while wearing it. So I cut it off...) Adding tacky craft glue to one end and using a thin knitting needle I pushed it into and against the spine of the book, and held it there until it started to stick.
A fancy card tag from a new garment was re-used to make my collaged bookmark. I also added some beads to the ribbon.
My Journal in use.
STEP 10;    Start using your Journal!  I use mine to track sleep patterns, exercise, mental health, and to prompt myself into creativity. It is your Journal, so do what you like in it.

 I just had to create one of my collage critters in it, with the left over magazine pictures. Fun!

A Sweet Collage Critter of mine.


Mar 26, 2019

Prompts, Posts and Pumpkins.


 I love doing checklists in my day, when I am feeling organised, or to make me feel organised.
 Beds made, check.
Dishes done, check.
Washing dry from last night, check.
Whoa, check out those accidental pumpkins. They're ready.

Our messy veggie-patch.


Harvest pumpkins, check.


Oh they do look cheery in our entrance porch. Signs of Autumn. 
Although there are some coloured leaves on the oak tree already, and every time the wind gusts through our little gully, the fall of many acorns go plunk plunk plunk. Especially on the opposite neighbours tin roof. Clonk clonk clonk, in the middle of the night... They must dread Autumn.


Dried starfish sanitising in the sun. Check.
"What..?" you say. "That's not a normal chore."
Well, no, but...


Oliva shell species, from different countries.

... I have at last come to a dreaded jobbie, which is going through box #3 of my late mother's huge shell collection. Recently it came back from the National Aquarium of NZ, having languished in their storerooms for nearly 10 years, without being seen by any member of the public. Which hugely disappointed us as a family.
 Now we will try to sell the collection, so someone will get pleasure from it. So I was making photos of the contents, (thanks to my Man for helping to lift out layers which was a 4 hands task) and trying to find her collection of her beloved cowrie shells. There were 15 layers in this box, such as Olivas, mussels and oyster varieties, clams, but also sand dollars, a layer of crab shells, and a layer of dried starfish. Those last ones still stink, which is why I did not repack them, but they are basking in the sun today.
The cowries however were not in box #3. There are 8 other boxes. Sigh...

I liked finding these shells, found many decades ago on a beach on the Isle of Ameland, The Netherlands.
I remember the long stormy, autumn weekend there with my brothers and parents, and going for bracing wet windy walks, and going back to our little batch for hot soup and bread. We could see the lighthouse from our window at night.

Making sure Noodle is ok, check. We'll go for a walk later.
After I finish this post, and having worked out I can't do it easily on my iPad, as I can't scroll down for some reason. So back on  the "big" computer.
I will post again soon, as I feel a tutorial coming on, about a "Repurposed Book".
Post finished. Check!